HOW TO | Change a flat tyre

You never know when you get a flat tyre, so it’s good to know how to change it. Photo: Denny Muller
When you get a flat tyre, it’s normally at the most inconvenient time and place. It could be at night, it could be raining, or rush hour traffic on the motorway.
While many Kiwis are members of a roadside assistance programme that can change the tyre for you, it’s good to know how to do it in case you’re in an area not covered by cellphone reception or the help is going to take a while to get to you.
So, here are tips from the Automobile Association on how to change a tyre.
Before you start
If you haven't changed a tyre before, consider a practice run. It’s important to try this on a flat surface for safety reasons.
Keep a small plastic sheet in the car to kneel on, a pair of gloves to protect your hands and a torch with spare batteries. If you don’t have a plastic sheet you can always use a floor mat instead.
Read the car manual.
Regularly check the spare tyre.
If the car is being used by more than one driver, make sure that the tools and jack are in the right place and that they are in good working condition.
Always consider safety first – be seen and use the car’s hazard lights.
Never attempt to change a tyre if your personal safety is at risk or if the tools are missing or are in poor condition.
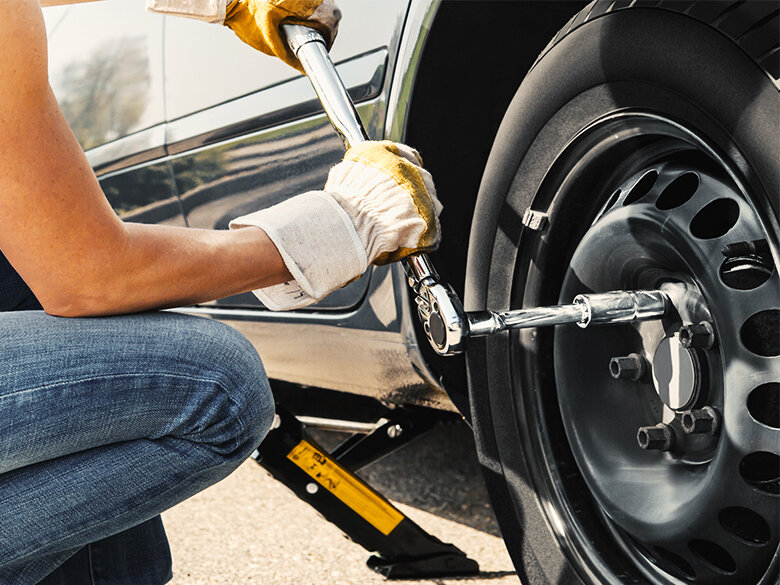
Loosen the wheel nuts with the wheel wrench while the vehicle is on the ground. Photo: Supplied
Step-by-step instructions
Make sure no one is inside the vehicle.
Apply the handbrake and put the vehicle in park (if automatic) or in gear (if manual).
Block the wheels on the side not being lifted.
Remove the hub cap or wheel cover if fitted. Some vehicles (mostly 4WDs) will have a centre cover – remove this to make the wheel nuts accessible.
Loosen the wheel nuts with the wheel wrench while the vehicle is on the ground. Do not remove them at this point.
If the nuts are too tight to loosen by hand, apply pressure to the wheel wrench with your foot, ensuring that it’s in a horizontal position for your own safety. Remember: Lefty loosey, righty tighty!
Place the jack underneath the jacking point of your vehicle on firm flat ground and slowly raise the vehicle. Refer to your car manual if you’re unsure of the jacking point location.
Remove the nuts and wheel, pulling the wheel towards you with both hands.
Lift the spare tyre into place. If using a space saver, it’s important to note that this is a temporary tyre and it’s not intended to be driven long distances or at speeds over 80km/h.
Replace all wheel nuts, making sure these go on the right way – taper towards the wheel and tighten snugly.
Lower the vehicle and tighten the wheel nuts using your wheel wrench. Again, you can stand on the wrench handle if needed.
Refit the hubcap, wheel cover or centre cover.
Take the punctured wheel to a tyre shop for repair or replacement.
TIP: When finished, you can also use the plastic sheet that you kneel on to protect your boot from the flat dirty tyre.